

Tiling is one of the most rewarding home improvement projects you can take on. Whether you’re renovating a bathroom, updating a kitchen splashback, or laying a new hallway floor, installing tiles correctly can completely transform your space.
While tiling may seem intimidating at first, careful planning, the right tools, and a little patience can help you achieve a professional-looking finish.
In this beginner’s guide, we’ll walk you through the tiling process from start to finish, covering everything from preparing the surface to laying tiles, grouting, and finishing touches.
Step 1: Gather Your Tools and Materials
Before you begin, make sure you have everything you’ll need.
Essential tools
- Tape measure
- Spirit level
- Pencil
- Tile cutter or wet saw
- Notched trowel
- Bucket
- Mixing paddle
- Rubber grout float
- Tile spacers
- Tile sponge
- Rubber mallet
- Silicone gun
- Safety glasses and gloves
Materials
- Tiles
- Tile adhesive
- Tile grout
- Matching silicone
- Tile trims
- Primer (if required)
- Waterproof tanking system (for wet areas)
Having everything ready before you start will make the job much smoother.
 Step 2: Measure Your Space
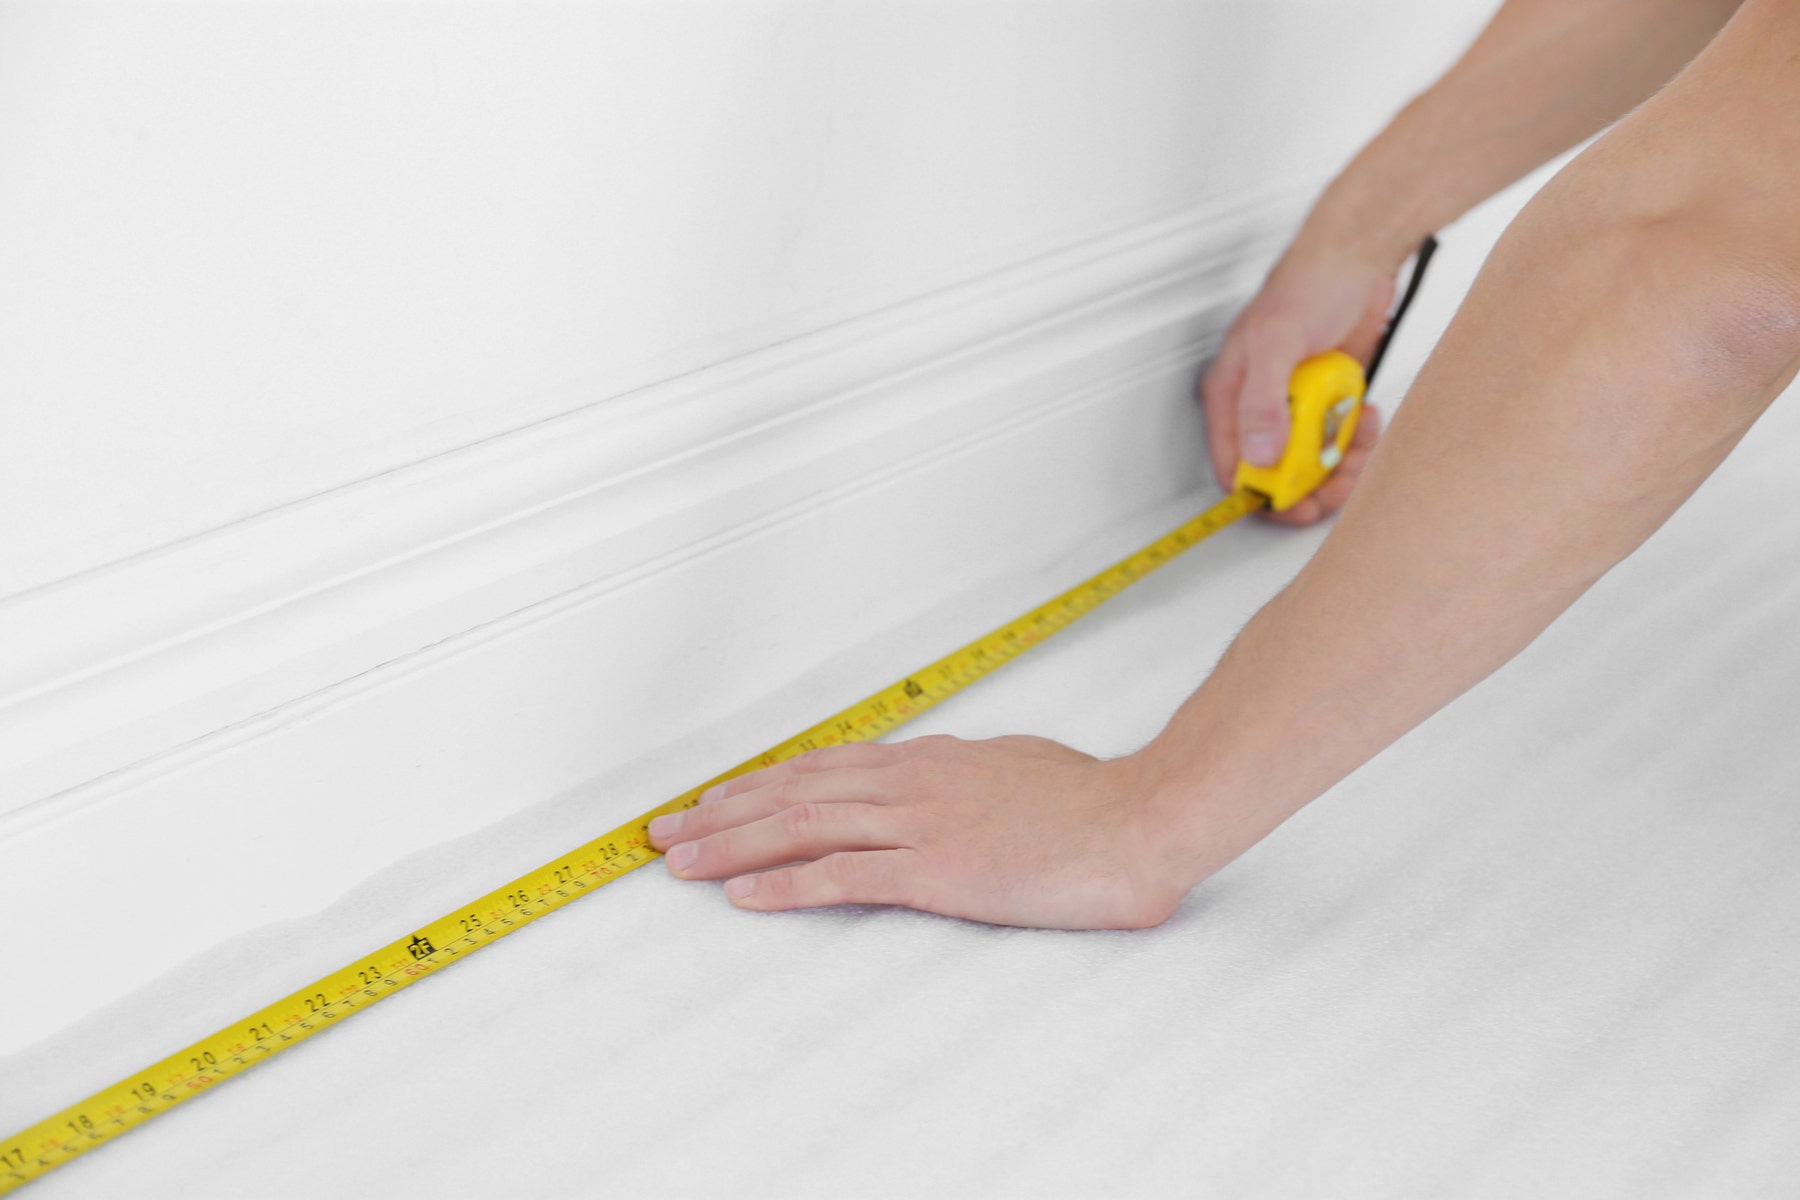 Step 2: Measure Your Space
Measure the height and width of the area you want to tile.
Multiply these measurements together to calculate the total square metres.
For example:
2m × 3m = 6m²
Always order extra tiles to allow for cuts, breakages and future repairs.
As a general guide:
- Add 10% extra for straightforward layouts.
- Add 15–20% extra for diagonal patterns, large rooms or complex cuts.
Step 3: Prepare the Surface
Preparation is one of the most important stages of any tiling project.
Your surface should be:
- Clean
- Dry
- Flat
- Solid
- Free from dust, grease or loose material
Uneven walls or floors should be levelled before tiling begins.
If you’re tiling a bathroom or wetroom, this is also the stage where waterproof tanking systems should be installed to protect the substrate from moisture.
Taking the time to prepare properly will help prevent cracked tiles, poor adhesion and uneven grout lines.
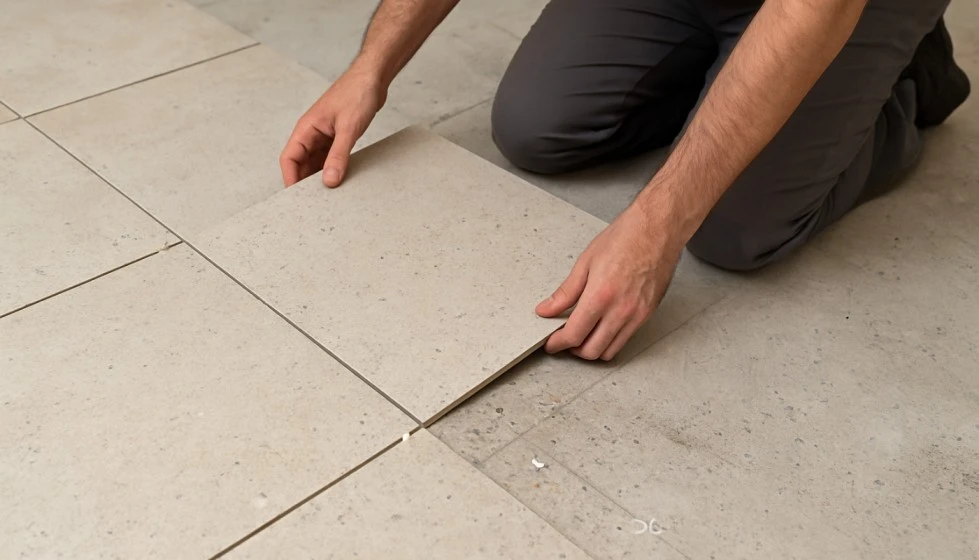
Step 4: Plan Your Tile Layout
Never start laying tiles without planning the layout first.
Dry-lay a row of tiles to see how they’ll fit across the space.
Aim to:
- Keep cut tiles equal on both sides of the room.
- Avoid very thin cuts at edges.
- Centre feature walls where possible.
- Check grout joint spacing.
A well-planned layout creates a much more balanced and professional finish.
Step 5: Choose the Right Adhesive
Not all tile adhesives are suitable for every project.
For example:
- Ceramic wall tiles often require standard wall adhesive.
- Porcelain tiles require a stronger, flexible adhesive.
- Floors with underfloor heating should always use flexible adhesive.
- Wet areas require products suitable for moisture exposure.
Using the correct adhesive is essential for a long-lasting installation.
 Step 6: Mix the Adhesive
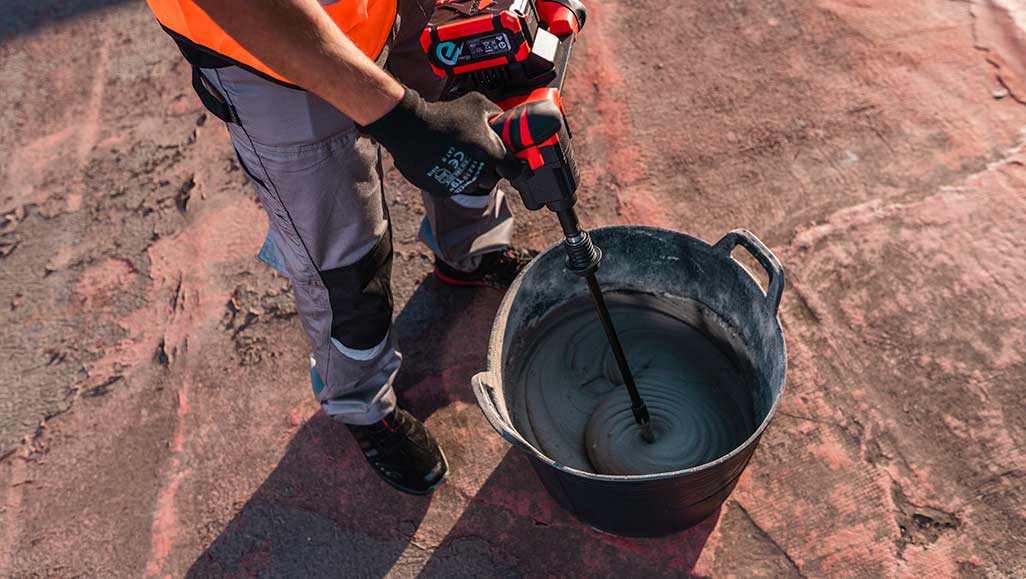 Step 6: Mix the Adhesive
Always follow the manufacturer’s instructions when mixing adhesive.
Only mix enough that you can comfortably use within the recommended working time.
The adhesive should have a smooth, lump-free consistency that’s firm enough to hold the tile in place without being too stiff to spread.
Step 7: Start Laying the Tiles
Using a notched trowel, spread adhesive over a small section of the wall or floor.
Work in manageable areas rather than covering the entire surface.
Press each tile firmly into the adhesive using a slight twisting motion.
Regularly check that the tiles remain level using a spirit level.
For larger porcelain tiles, it’s often recommended to apply adhesive to both the substrate and the back of the tile. This technique, known as back-buttering, helps achieve better coverage and a stronger bond.
 Step 8: Use Tile Spacers
 Step 8: Use Tile Spacers
Place tile spacers between every tile as you work.
Spacers help create:
- Even grout joints
- Straight lines
- A professional appearance
Remove the spacers once the adhesive has cured, following the adhesive manufacturer’s recommended drying time.
Step 9: Cut Tiles
Very few rooms allow you to use only full tiles.
You’ll usually need to cut tiles around:
- Doors
- Pipework
- Electrical sockets
- Corners
- Window reveals
Use a quality manual tile cutter or wet saw for straight cuts, and tile nippers or hole saws for more intricate shapes.
Always wear appropriate safety equipment when cutting tiles.
 Step 10: Allow the Adhesive to Cure
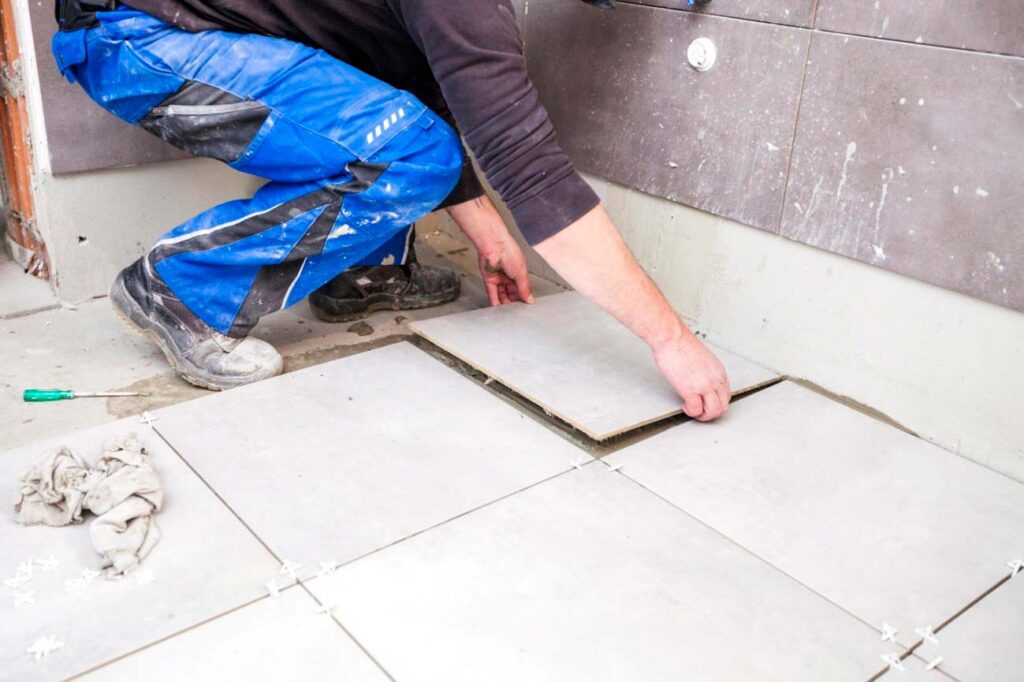 Step 10: Allow the Adhesive to Cure
Once all the tiles are in place, allow the adhesive to fully cure before walking on the floor or applying grout.
Drying times vary depending on the adhesive used, room temperature and humidity, so always follow the manufacturer’s instructions.
Avoid disturbing the tiles during this stage, as movement can affect the finished result.
Step 11: Apply the Grout
Once the adhesive has cured, it’s time to grout.
Using a rubber grout float:
- Spread grout diagonally across the joints.
- Ensure every joint is completely filled.
- Remove excess grout as you work.
Allow the grout to firm up slightly before cleaning the tile surface with a damp sponge.
Rinse the sponge regularly to avoid spreading grout residue.
 Step 12: Apply Silicone
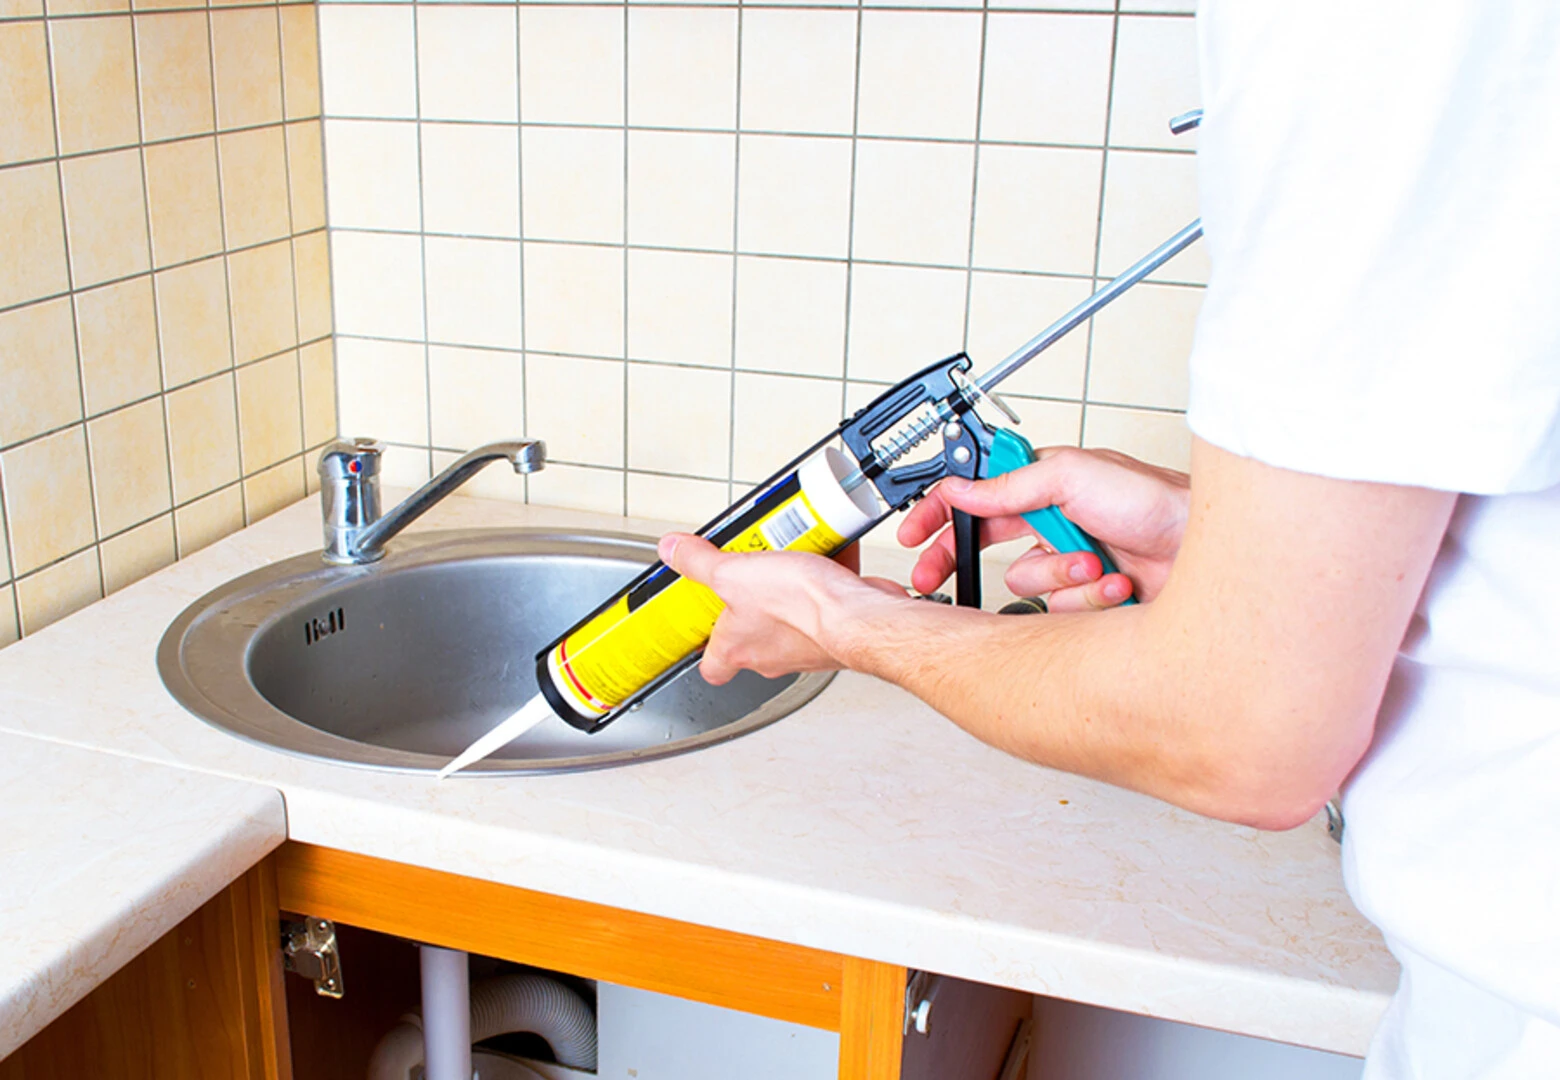 Step 12: Apply Silicone
Silicone should be used wherever there may be movement or water ingress.
This includes:
- Internal corners
- Around baths
- Around shower trays
- Around basins
- Kitchen worktops
Using colour-matched silicone creates a cleaner, more professional finish.
Step 13: Clean the Tiles
Once the grout has cured, polish away any remaining grout haze using a clean, dry microfibre cloth.
Avoid using harsh chemicals immediately after installation, as the grout may still be curing.
 Common Beginner Tiling Mistakes
 Common Beginner Tiling Mistakes
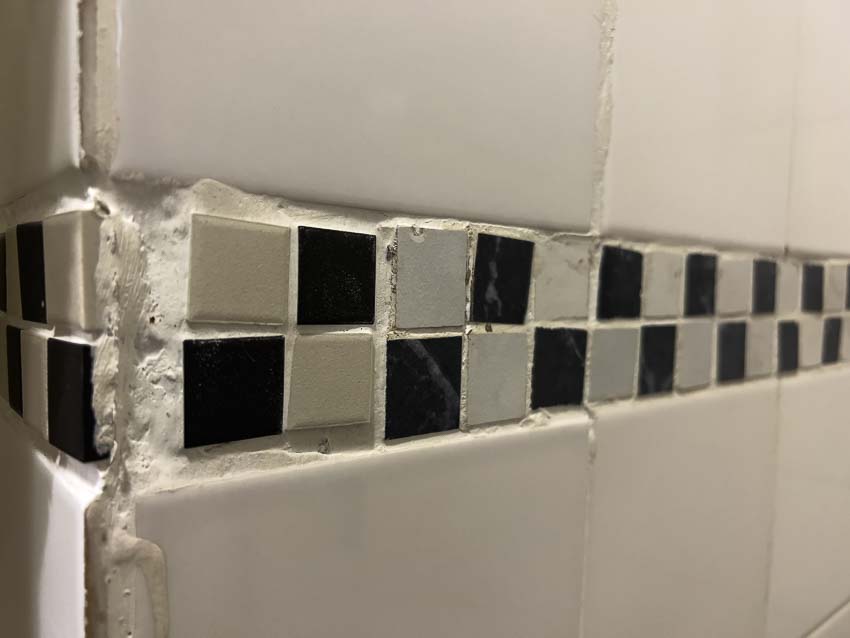
Even experienced DIYers can make mistakes. Some of the most common include:
- Skipping surface preparation
- Using the wrong adhesive
- Not planning the layout
- Forgetting expansion gaps
- Walking on tiles before the adhesive has cured
- Uneven grout joints
- Applying too much adhesive
- Not checking levels regularly
Taking your time is often the difference between an average finish and a professional one.
Should You Tile Yourself or Hire a Professional?
Many homeowners successfully complete smaller tiling projects themselves, particularly splashbacks, cloakrooms and feature walls.
However, larger installations, wetrooms, outdoor patios and large-format porcelain tiles often require specialist knowledge and equipment.
If you’re unsure, speaking to an experienced tiler can save both time and money in the long run.
Everything You Need for Your Tiling Project
At City Tiles & Bathrooms, we stock everything you need to complete your tiling project from start to finish. Alongside one of Ireland’s largest ranges of porcelain and ceramic wall and floor tiles, we also offer high-quality adhesives, grout, silicone, trims, levelling systems and tiling accessories.
Whether you’re tackling your first DIY project or working on a full home renovation, our expert team is here to help you choose the right products for a professional finish.
Visit one of our showrooms in Dublin, Cork or Limerick, or shop online to find everything you need for your next tiling project.
Frequently Asked Questions
Can I tile over existing tiles?
In some cases, yes. Existing tiles must be clean, secure, level and free from damage. A suitable primer and adhesive may also be required.
How long should tile adhesive dry before grouting?
This depends on the product used, but most adhesives require between 24 and 48 hours before grouting. Always follow the manufacturer’s recommendations.
How wide should grout lines be?
The ideal grout joint depends on the tile size and whether the tiles are rectified. Many rectified porcelain tiles can use narrower joints, while larger or uneven tiles may require wider spacing.
Can I tile onto plasterboard?
Yes, provided the plasterboard is properly supported and suitable for tiling. Wet areas should be waterproofed with an appropriate tanking system before tiles are installed.
How do I calculate how many tiles I need?
Measure the total area in square metres and add an extra 10–20% to allow for cuts, breakages and future repairs.